1. Cylinder Making (Gravure Plate Engraving)
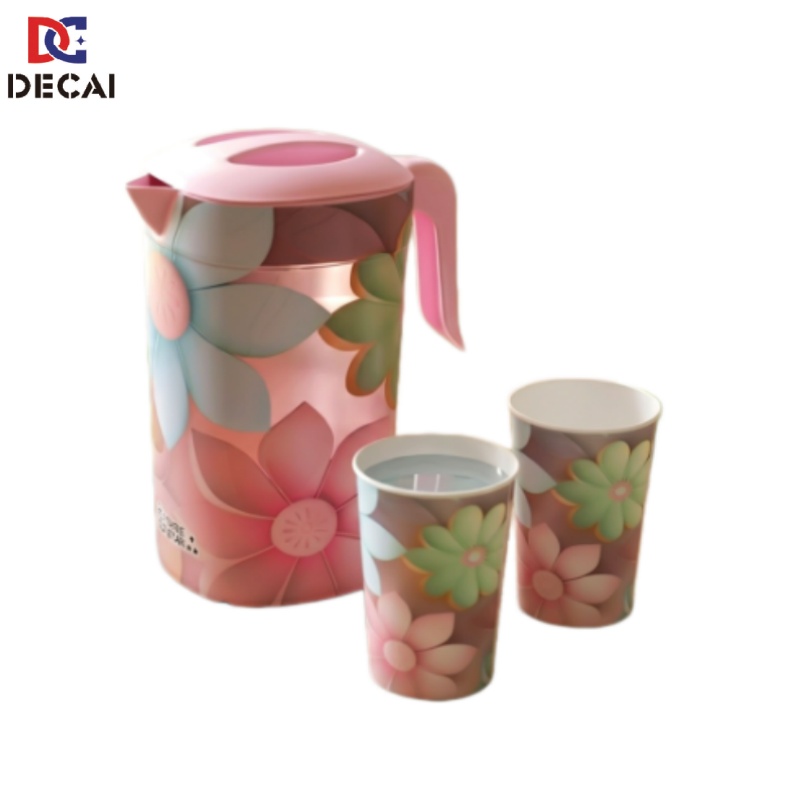
The process begins with engraving a gravure printing cylinder. The customer's custom design is transferred onto a copper‑ or chrome‑plated steel cylinder using laser or mechanical engraving. The cylinder is etched with microscopic cells that hold ink, corresponding to the design pattern. This master cylinder ensures consistent, high‑volume printing with sharp detail and accurate color reproduction.
2. Printing (Gravure Printing)
The engraved cylinder is installed onto a gravure printing press. The cylinder rotates through an ink bath, filling the engraved cells with ink, while a doctor blade removes excess ink from the smooth surface. The cylinder then presses the ink onto the OPP or PP film substrate, building up the design layer by layer through multiple color stations (e.g., CMYK + spot colors). This produces high‑resolution, vibrant graphics with excellent detail.
3. Drying (Curing)
After each ink layer is applied, the printed film passes through a heated drying tunnel. Hot air evaporates the solvents from the ink, curing it firmly onto the film surface. Complete drying is essential before lamination to prevent smudging, ink transfer, or adhesive failure during the subsequent lamination step.
4. Lamination (Composite Layer Bonding)
Once the printed film is fully dried, it moves to the lamination stage. A secondary film – typically a white or opaque PP backing layer – is bonded to the printed film using a laminating adhesive or thermal bonding process. This multi‑layer structure provides opacity, enhances durability, and ensures proper fusion with the molten plastic during injection molding. The lamination is carried out under controlled pressure and temperature to achieve a strong, bubble‑free bond.
5. Slitting / Die‑Cutting (Cutting to Size)
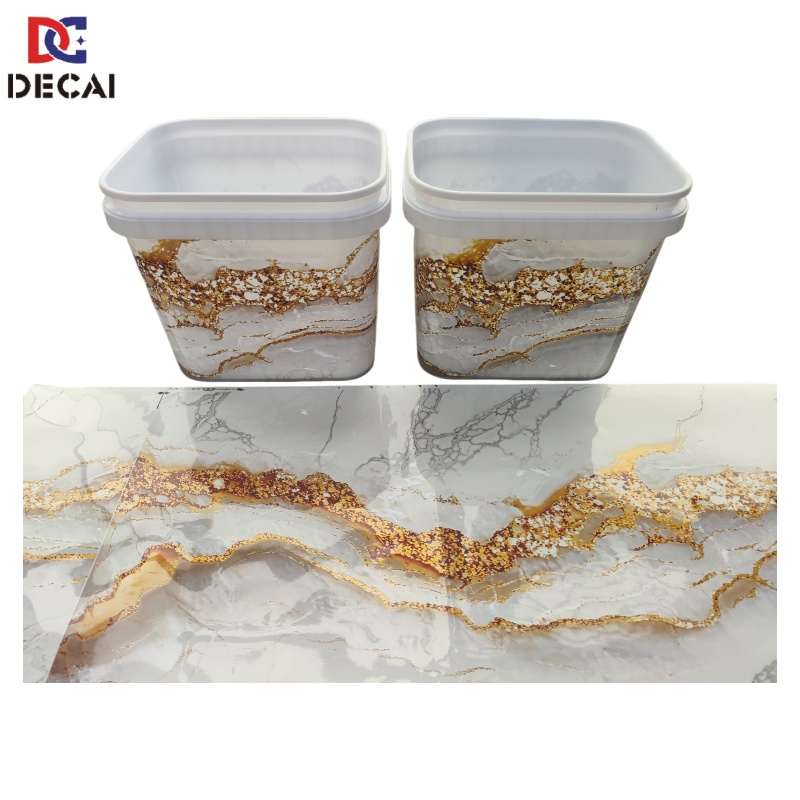
The laminated master roll is then transferred to a slitting or die‑cutting machine. The large roll is cut into smaller rolls of specific widths (e.g., 100mm, 120mm, 160mm), or die‑cut into individual label shapes according to customer requirements. Precision cutting ensures clean edges and accurate dimensions for reliable placement in injection molds.
6. Quality Inspection
Each finished roll undergoes thorough quality inspection. Key checks include:
Color accuracy – compared against the approved color standard.
Print clarity – no blurring, misregistration, or missing details.
Lamination integrity – no bubbles, delamination, or wrinkles.
Surface defects – no scratches, dust, or contaminants.
Adhesion test – ensures the ink layers are properly cured and the lamination is secure.
Dimensional accuracy – width, length, and roll diameter are verified.
Any defective material is rejected or reworked to maintain consistent quality standards.
7. Packaging
After passing inspection, the laminated IML label rolls are carefully packaged. Each roll is wrapped in protective film to prevent dust, scratches, and moisture damage during storage and transit. The rolls are then placed into sturdy cartons, labeled with product details (size, design, batch number), and prepared for shipment.
8. Shipping / Delivery
Finally, the packaged goods are loaded onto pallets, shrink‑wrapped, and dispatched to the customer. Shipping documentation (packing list, commercial invoice, and any required certificates) is prepared to ensure smooth customs clearance and timely delivery.


Post time: Jul-30-2026