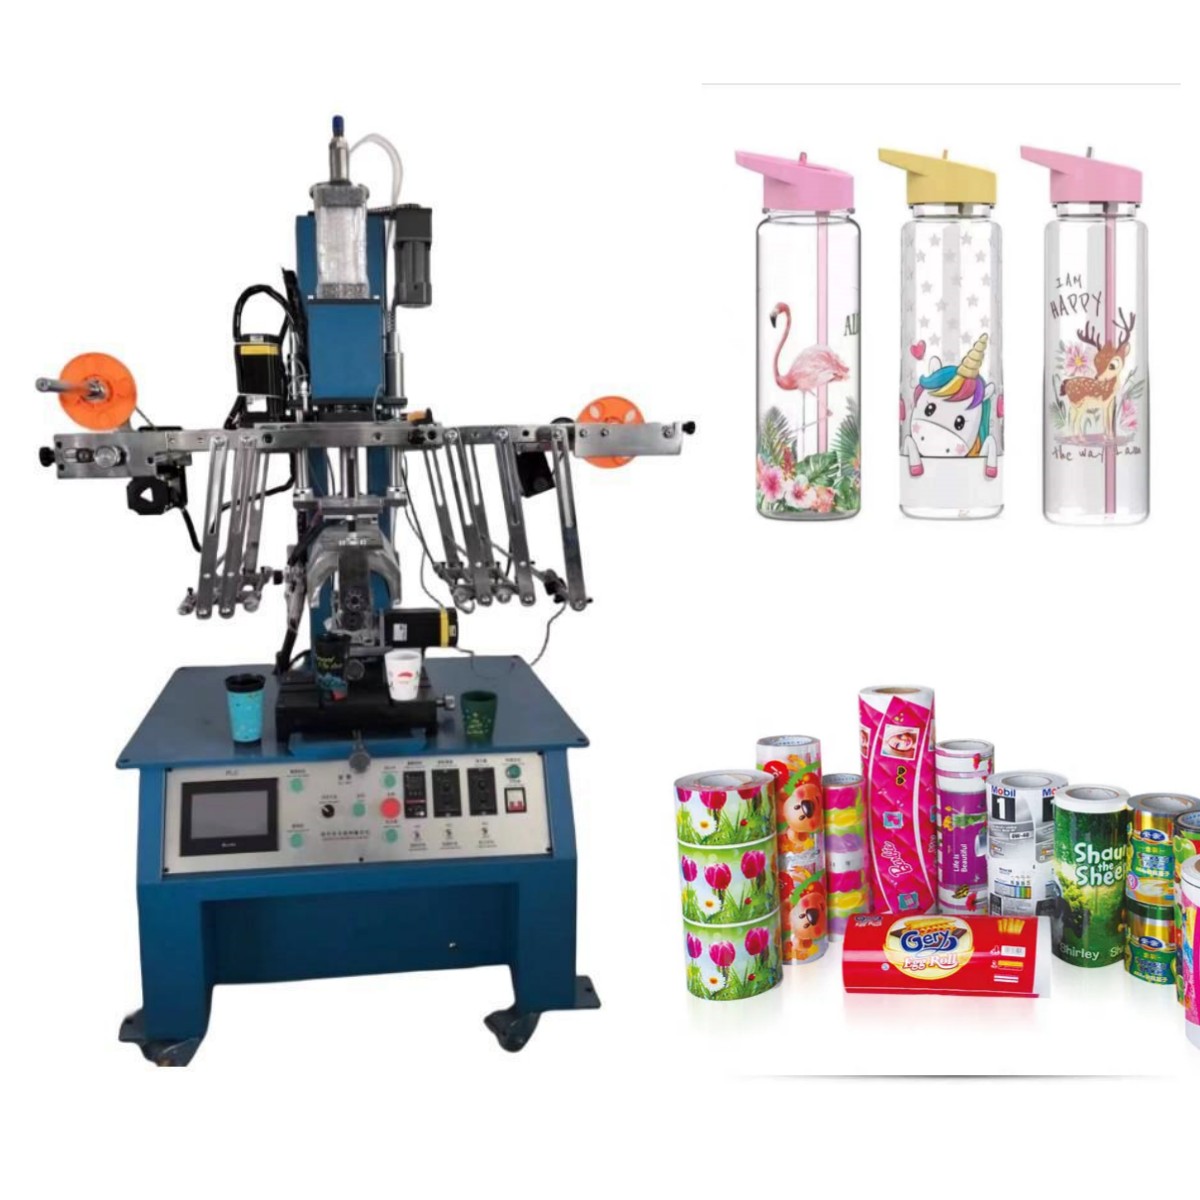
1. Design and Print Your Artwork
-
Create Your Design: Use graphic design software (like Adobe Illustrator, CorelDRAW, or even specialized RIP software) to create your artwork. Remember to mirror the image horizontally before printing.
-
Choose the Right Transfer Paper: Select a transfer paper compatible with both your printer (inkjet or laser) and the type of plastic you are printing on. For light-colored plastics, use standard paper. For dark plastics, you will need a transfer paper with a white underbase.
-
Print the Design: Load the transfer paper into your printer and print the mirrored design. Ensure you use the highest quality print settings for the best color vibrancy.
2. Prepare the Plastic Product and Machine
-
Clean the Surface: Wipe down the plastic product with isopropyl alcohol to remove any dust, oil, or debris. A clean surface is crucial for a smooth, bubble-free transfer.
-
Pre-Press (Preheat) the Product (if necessary): Some plastics, especially those with curved surfaces, may need to be preheated for 5-10 seconds. This removes moisture and prepares the surface to better accept the ink.
-
Preheat the Heat Press Machine: Turn on your heat transfer machine and set it to the recommended temperature and time for your specific type of plastic and transfer paper. A common starting point is around 160-180°C (320-356°F) for 15-30 seconds, but always consult the paper manufacturer's guidelines.
3. Position and Press the Transfer
-
Secure the Product: Place the plastic product securely on the lower platen of the machine. For curved items, use jigs or clamps to hold it in place and prevent movement during pressing.
-
Position the Transfer: Place your printed transfer paper face-down onto the product, ensuring it is perfectly aligned.
-
Apply Heat and Pressure: Close the machine's lid firmly. The machine will apply consistent heat and pressure for the duration of the timer you set. Ensure even pressure across the entire design area.
4. Complete the Transfer (The Peel)
-
Cool Down: Once the pressing time is complete, carefully open the lid. Crucial Step: Do not peel the paper immediately.
-
Perform a Cold or Hot Peel: Depending on your transfer paper type:
-
Cold Peel: Allow the product to cool down completely before slowly peeling off the carrier paper.
-
Hot Peel: Peel the carrier paper off immediately while the product is still hot. Always follow the specific instructions for your paper.
-
-
Peel Carefully: Peel at a consistent, slow angle to ensure the design adheres perfectly without lifting.
5. Final Inspection and Curing
-
Check the Result: Inspect the transferred design for any imperfections like lifting edges or misalignment.
-
Post-Cure (Optional but Recommended): For maximum durability and wash resistance, some professionals recommend reheating the product (without the paper) for another 10-15 seconds. This further cures the ink into the plastic.
-


Post time: Sep-12-2025