
A heat transfer machine is used to transfer custom designs from a heat transfer film onto plastic products using heat and pressure. Two essential components are required: a printing mold (to hold the product) and a silicone roller (to apply heat and pressure evenly). The process involves the following steps:
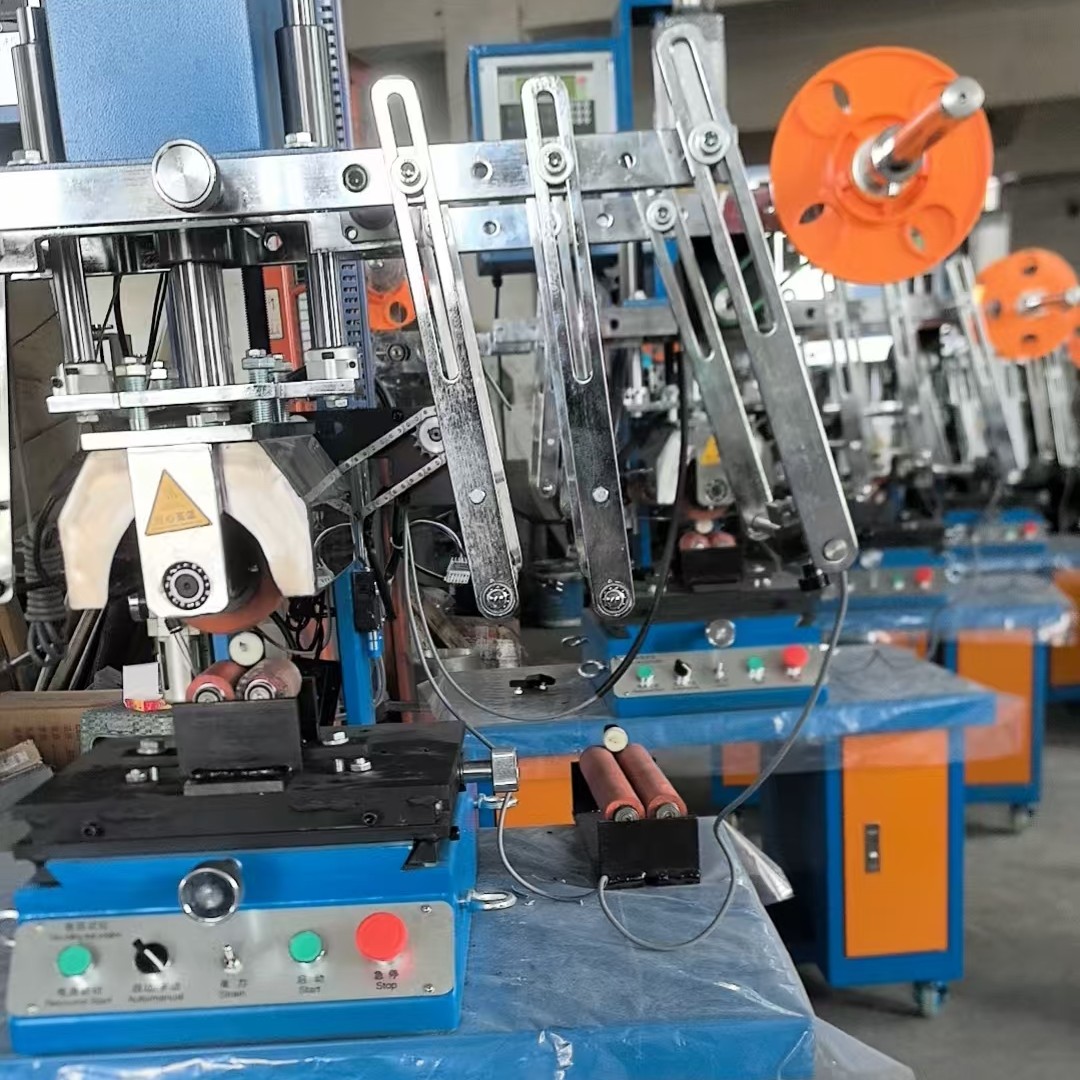
1. Machine Preparation and Parameter Setting
Install the appropriate printing mold onto the machine fixture according to the product shape (e.g., cylindrical, conical, or flat). The mold must securely hold the product in place during printing.
Install the silicone roller and ensure it is clean and free from any residue.
Set the machine temperature, typically between 180°C and 240°C, depending on the film and plastic material.
Adjust the pressure and rotation speed according to the product size and design complexity.
2. Loading the Heat Transfer Film
Load the pre‑printed heat transfer film roll onto the machine's unwind and rewind rollers.
Thread the film through the heating zone, ensuring the printed side faces the product surface.
Adjust film tension to avoid wrinkles or misalignment during the transfer process.
3. Positioning the Plastic Product
Place the plastic product (e.g., bucket, cup, or jar) onto the printing mold.
Ensure the product is clean, dry, and free from dust or grease for proper adhesion.
For conical products, use a conical mold that matches the taper to ensure even rotation.
4. Starting the Transfer Cycle
Activate the machine's automatic cycle. The silicone roller presses the heat transfer film against the product surface under controlled heat and pressure.
The product rotates so the film covers the entire circumference or desired area.
The heat softens the ink and adhesive layer on the film, while the pressure permanently bonds the design to the plastic surface.
The transfer process typically takes only a few seconds per product.
5. Cooling and Film Peeling
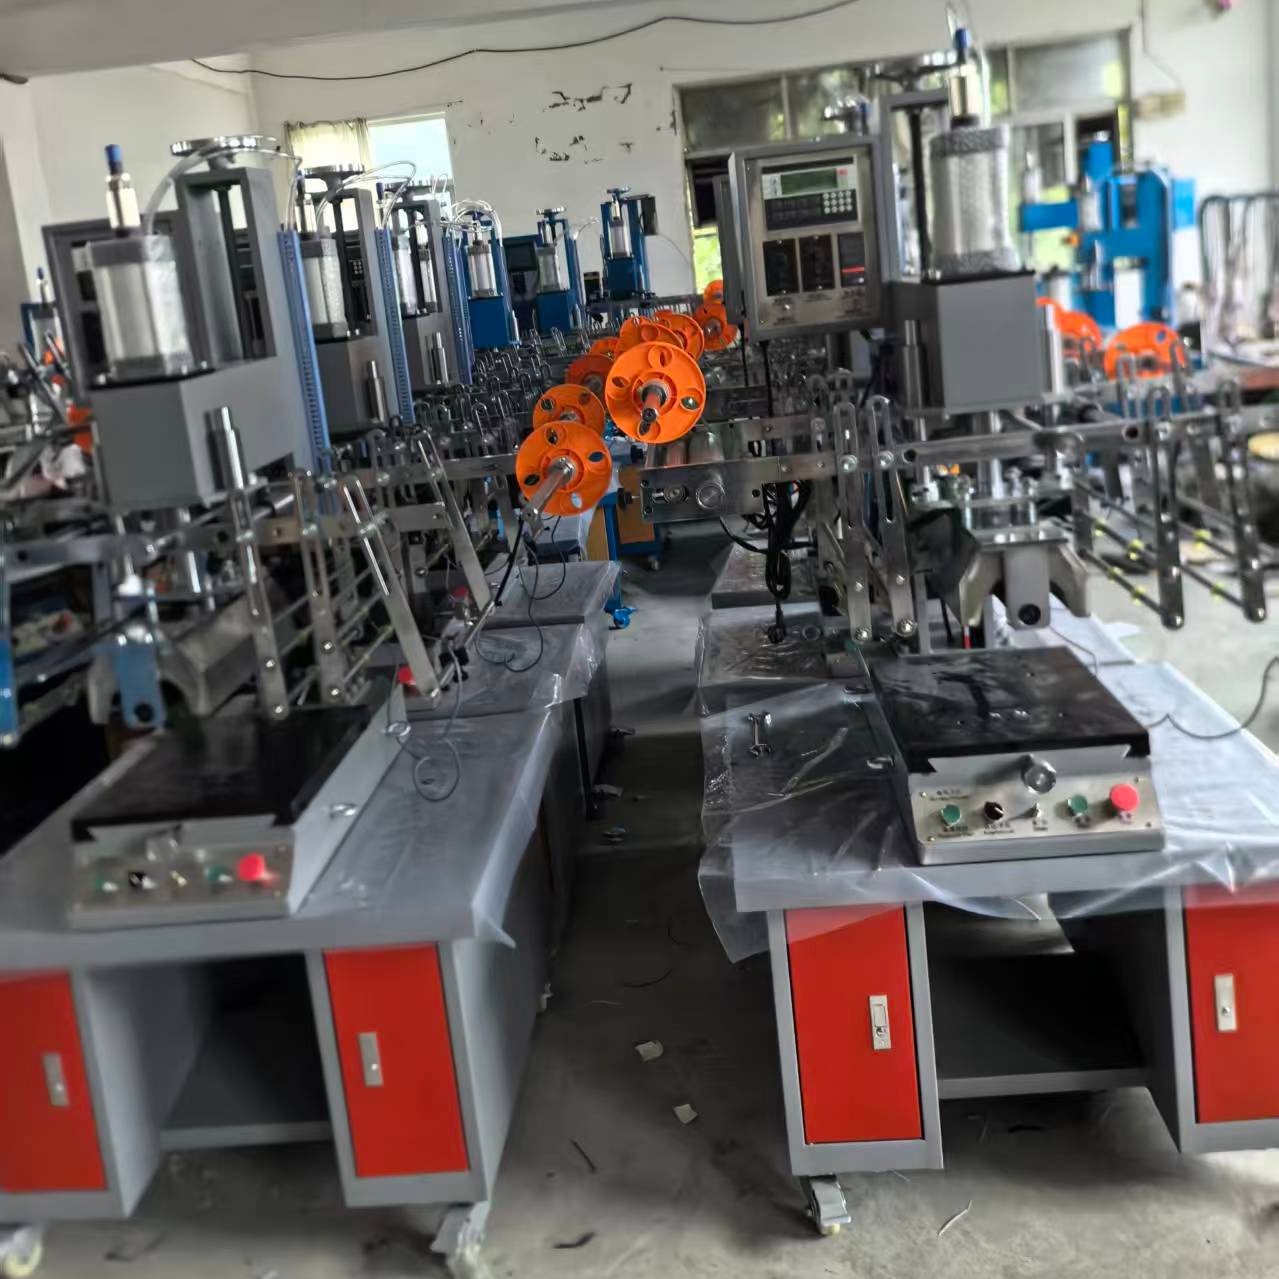
After the transfer is complete, allow the product to cool briefly or move it to a cooling station.
The PET carrier film automatically peels away from the product, leaving the printed design permanently bonded to the plastic surface.
In some machines, the peeling happens automatically as the film rewinds.
6. Quality Inspection
Inspect the printed product for:
Color accuracy and sharpness
Adhesion strength (no peeling or bubbling)
Surface smoothness (no wrinkles or missing areas)
Reject any defective items and set them aside for rework or disposal.


Post time: Aug-28-2026