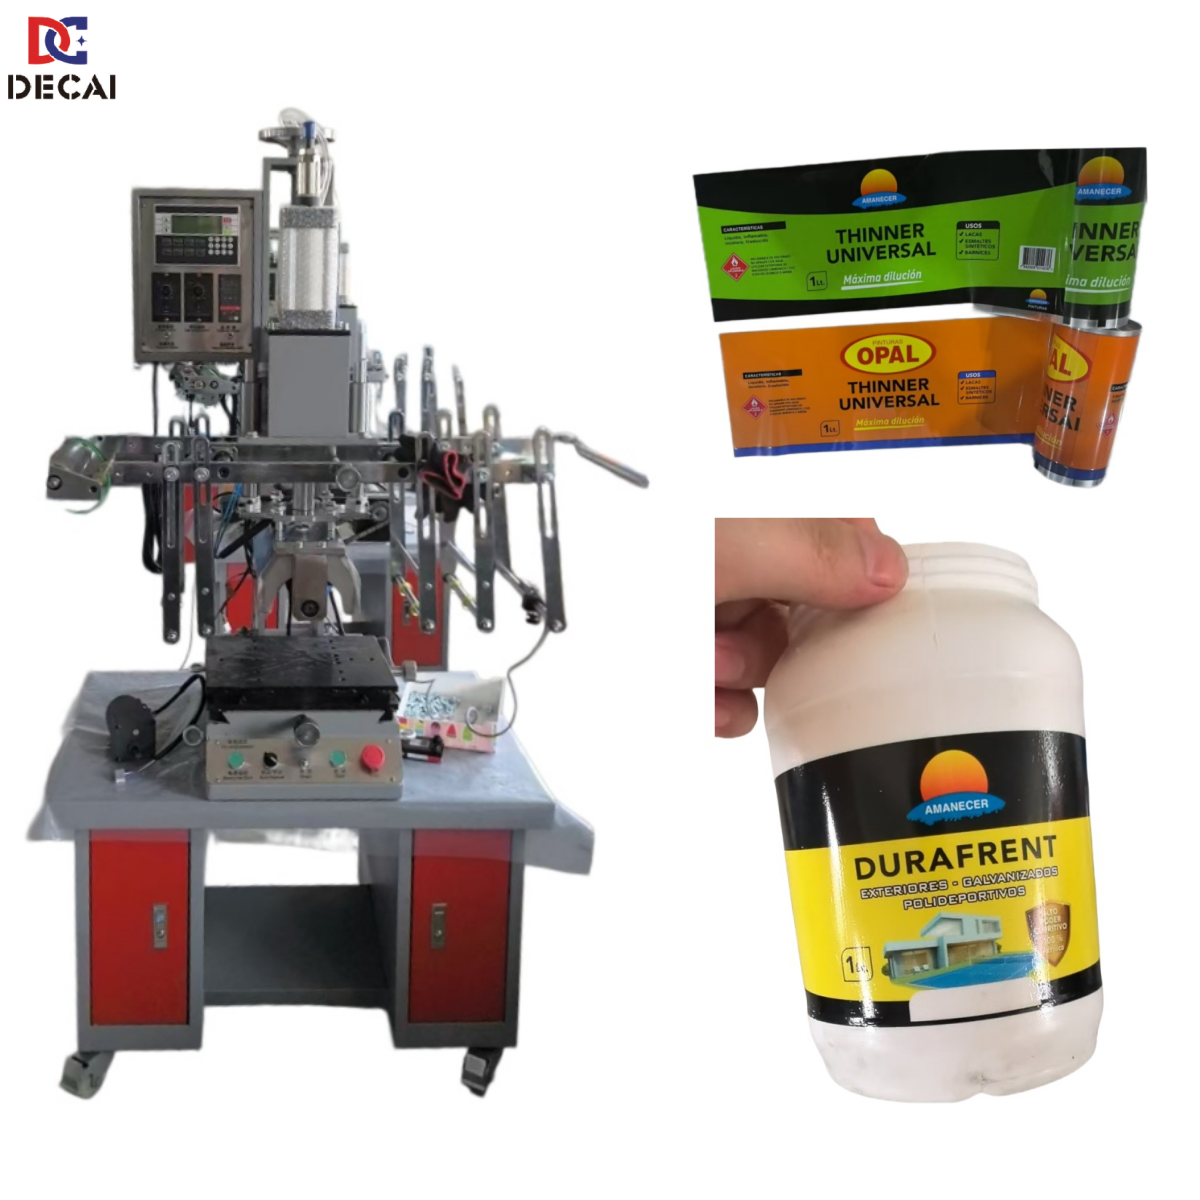
Step 1: Machine Preparation and Parameter Setting
Before starting, the operator sets up the heat transfer machine according to the bucket size and design requirements.
- Install the correct silicone roller or heating head – choose the appropriate shape (flat or conical) based on the bucket’s profile.
- Adjust temperature – typically between 180°C and 220°C, depending on the film and plastic material (PP or PE).
- Set pressure – ensure even contact without deforming the bucket.
- Set speed and dwell time – adjust the rotation speed and heating duration to achieve full transfer without burning the film.
Step 2: Loading the Heat Transfer Film
The printed heat transfer film (PET‑based) is loaded onto the machine’s unwind and rewind rollers. The film is fed through the heating zone, with the printed side facing the bucket. Tension must be controlled to avoid wrinkles or misalignment during the transfer.
Step 3: Positioning the Plastic Bucket
The bucket is placed onto the machine’s mandrel or fixture. For conical buckets, a conical mandrel ensures the bucket sits firmly and rotates evenly. The bucket must be clean, dry, and free of dust or grease to ensure proper adhesion of the transferred graphics.
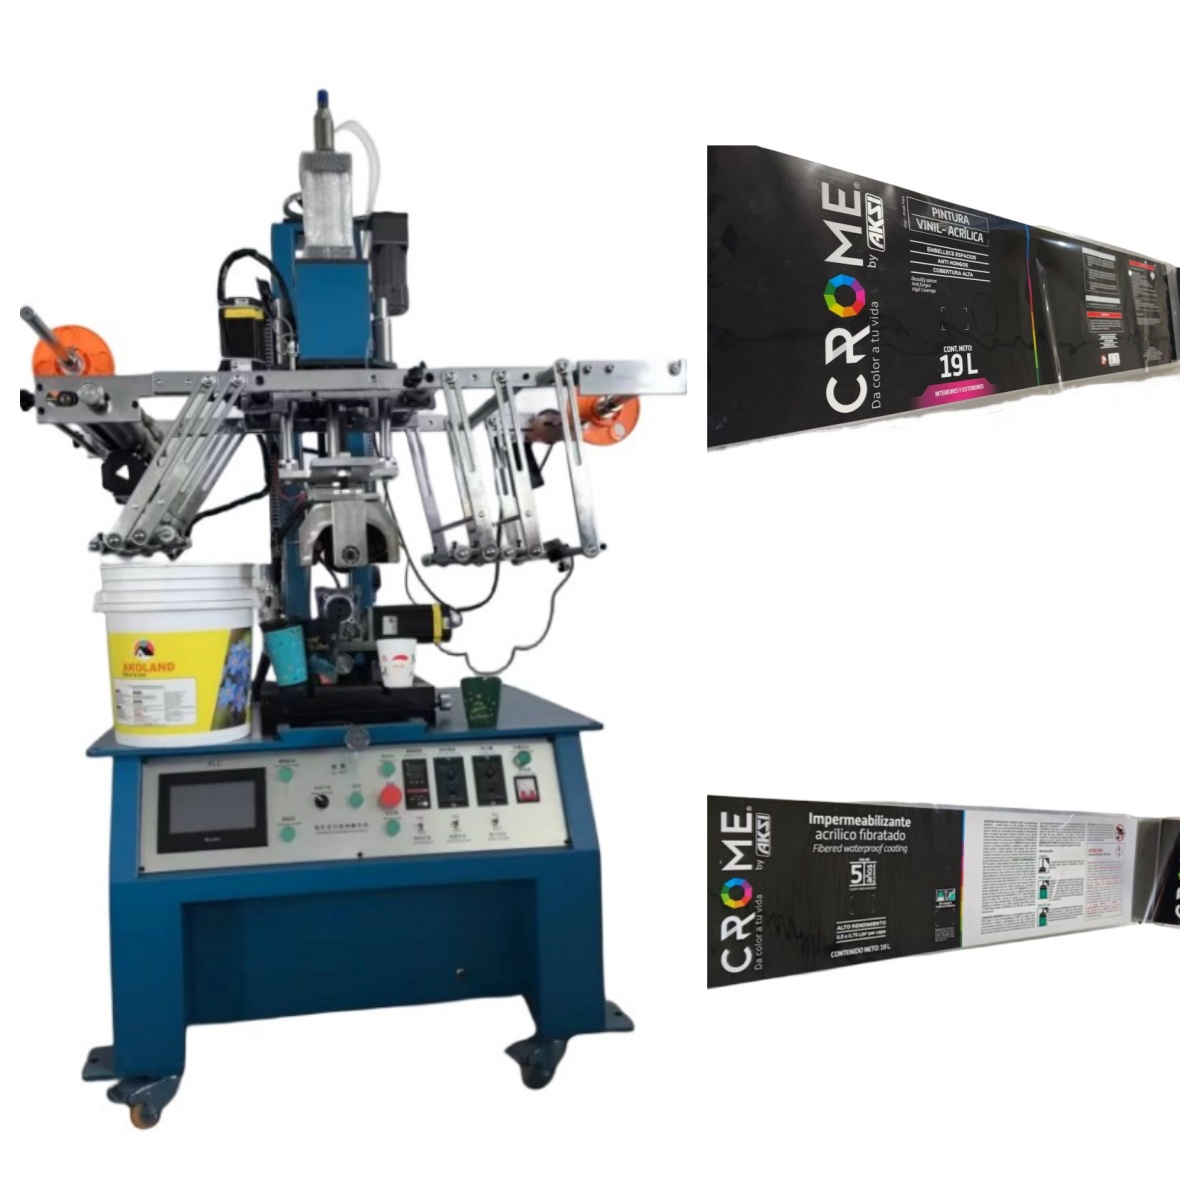
Step 4: Transfer Process – Heat and Pressure Application
Once the bucket is in position and the film is aligned, the operator starts the automatic cycle:
- The heated silicone roller presses the film against the bucket surface.
- The bucket rotates so the film covers the entire circumference.
- Heat softens the ink and adhesive layer on the film, while pressure bonds it to the plastic surface.
- The transfer takes only a few seconds per bucket, depending on the design complexity and bucket size.
Step 5: Cooling and Film Peeling
After the transfer is completed, the bucket is moved to a cooling station or allowed to cool naturally. The carrier film (PET backing) is then peeled off, leaving the printed design permanently bonded to the bucket. For some machines, the peeling happens automatically as the film rewinds.
Step 6: Quality Inspection and Finishing
Each printed bucket is inspected for:
- Color accuracy and sharpness
- Adhesion strength (scratch test or tape test)
- Surface smoothness – no bubbles, wrinkles, or missing areas
Defective buckets are set aside for rework or rejection. Accepted buckets are then stacked, packaged, and ready for shipment.
In summary, the heat transfer printing process for plastic buckets is efficient and reliable when each step is carefully executed. With the right equipment, materials, and quality checks, manufacturers can achieve durable, high‑definition decoration that withstands handling, chemicals, and outdoor exposure.


Post time: Jun-26-2026